How to set up an instance
Fixr uses the OAuth 2.0 protocol to connect to the instance, ensuring that user and password information does not need to be stored in Fixr's database.
To allow Fixr to authenticate using a token, an Application Registry must be set up within the instance.
The easiest way to prepare the instance for this connection is to install our Update Set: Fixr OAuth . This Update Set will automatically create the Application Registry, saving you additional steps. Alternatively, you can manually create an Application Registry by selecting the type Create an OAuth API endpoint for external clients.
ServiceNow setup
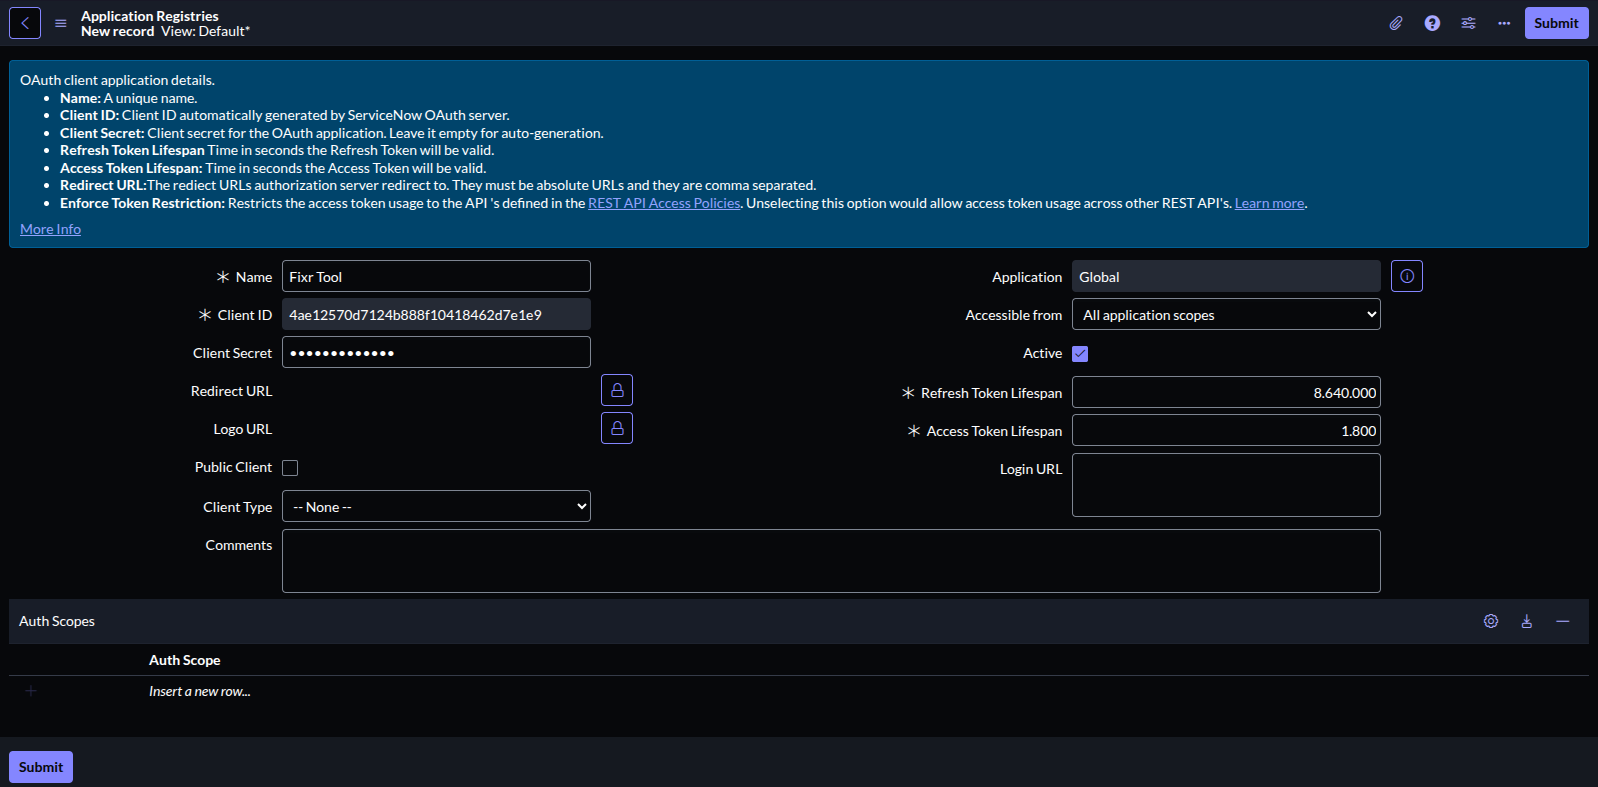
First, ensure that the Application Registry is configured correctly on your ServiceNow instance:
-
Remove the value from the Client Secret field and save the record to generate a new value.
-
Ensure the Redirect URL field has the value
https://fixr.accenture.com.
Fixr setup
Once the Application Registry is configured correctly, the final step is to add the instance to Fixr. Follow these steps:
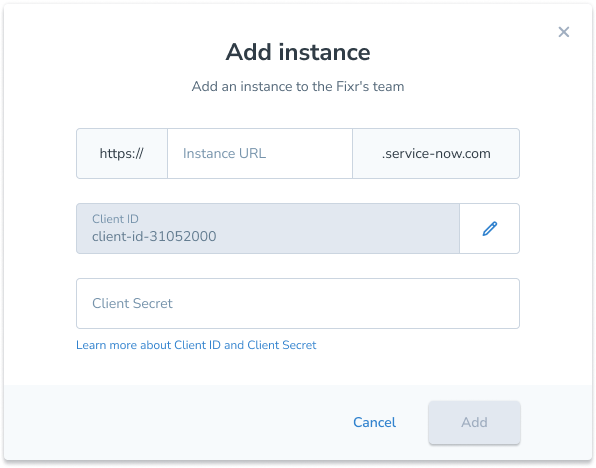
- On the homepage, click Add Instance

- Enter the instance information (if the Application Registry was created using the provided Update Set, no changes to the Client ID field are necessary).
- Click Go to Authenticator and log in to ServiceNow with the credentials of the intended user (preferably an admin user, so Fixr can access script tables and perform auto fixes).

- Review the schedule that was configured for the instance.
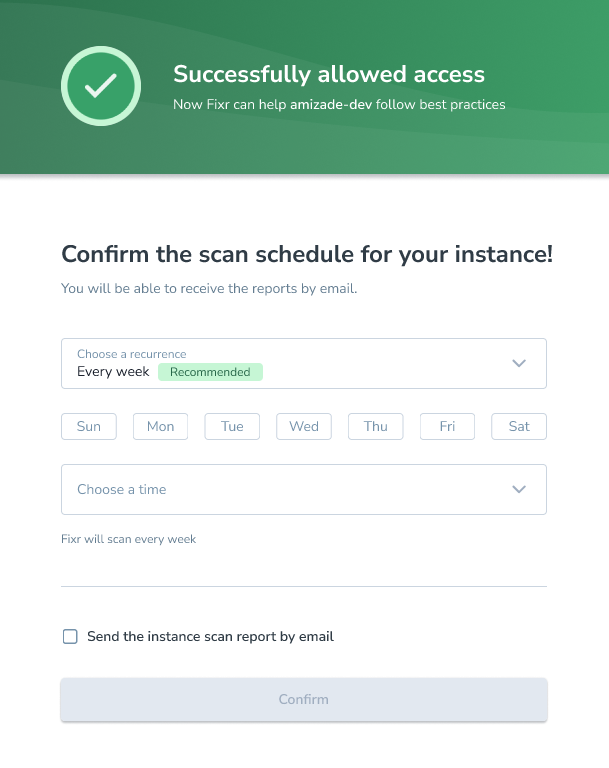
- Done! Your instance is now ready to use.